Design Your Own Temporary Tattoo: A Comprehensive Guide
Temporary tattoos offer a fun and commitment-free way to express yourself. Whether you’re looking to test out a design before getting permanent ink, want to add some flair to a special event, or simply enjoy experimenting with different looks, the ability to design your own temporary tattoo is a fantastic option. This comprehensive guide will walk you through the process, from initial concept to application, ensuring you create a temporary tattoo you’ll love.
Why Design Your Own Temporary Tattoo?
There are several compelling reasons to design your own temporary tattoo. Firstly, it allows for complete creative control. You’re not limited to pre-made designs; you can bring your unique vision to life. This is especially appealing if you have a specific idea in mind, such as a personal symbol, a custom logo, or a piece of artwork that resonates with you. Secondly, designing your own temporary tattoo offers a personalized experience. It’s a chance to showcase your individuality and make a statement that’s uniquely yours. Finally, it’s a cost-effective and risk-free way to explore tattoo designs before committing to permanent ink. If you’re considering a permanent tattoo, a temporary version can help you visualize the design on your skin and ensure you’re happy with the placement and overall look.
Materials You’ll Need to Design Your Own Temporary Tattoo
Creating your own temporary tattoo requires a few essential materials. The specific materials may vary depending on the method you choose, but the following are commonly used:
- Temporary Tattoo Paper: This specialized paper is designed to transfer your design onto the skin. It typically consists of two layers: a printable sheet and an adhesive sheet.
- Printer: An inkjet or laser printer is needed to print your design onto the temporary tattoo paper.
- Design Software: Software such as Adobe Photoshop, GIMP (a free alternative), or even simple drawing programs like Microsoft Paint can be used to create or edit your design.
- Scissors or Craft Knife: For carefully cutting out your tattoo design after printing.
- Damp Cloth or Sponge: To apply the tattoo to your skin.
- Optional: Stencils, glitter, and temporary tattoo markers can be used to add extra detail and customization to your design.
Methods for Designing Your Own Temporary Tattoo
Several methods can be used to design your own temporary tattoo. Here are some popular options:
Using Temporary Tattoo Paper
This is the most common and straightforward method. Here’s a step-by-step guide:
- Create or Choose Your Design: Use design software to create your tattoo design. Ensure the image is high-resolution for optimal printing quality. Remember to reverse the image horizontally before printing, as it will be mirrored when applied to the skin.
- Print Your Design: Load the temporary tattoo paper into your printer according to the manufacturer’s instructions. Print your design onto the printable sheet.
- Apply the Adhesive Sheet: Carefully peel off the adhesive sheet and apply it to the printed design, smoothing out any bubbles.
- Cut Out Your Tattoo: Use scissors or a craft knife to carefully cut out your tattoo design, leaving a small border around the edges.
- Apply the Tattoo: Peel off the clear plastic sheet from the tattoo. Place the tattoo face down on your desired skin area.
- Wet the Backing: Use a damp cloth or sponge to thoroughly wet the backing paper.
- Wait and Peel: Press down firmly for 30-60 seconds. Gently peel off the backing paper to reveal your temporary tattoo.
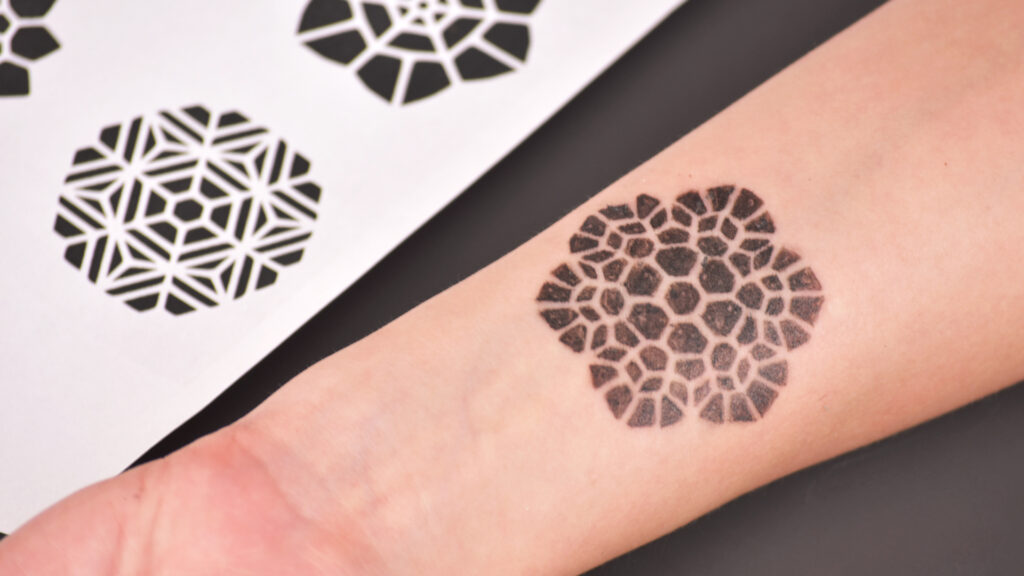
Using Stencils and Body Paint
This method is ideal for creating intricate designs or applying tattoos to larger areas. You’ll need stencils, body paint (specifically designed for temporary tattoos), and brushes or sponges.
- Choose Your Stencil: Select a stencil that matches your desired design. You can purchase pre-made stencils or create your own using stencil paper and a craft knife.
- Apply the Stencil: Place the stencil on your skin and secure it with tape if needed.
- Apply the Body Paint: Use a brush or sponge to apply the body paint to the stencil, ensuring even coverage.
- Remove the Stencil: Carefully remove the stencil and allow the paint to dry completely.
Using Temporary Tattoo Markers
Temporary tattoo markers are a great option for creating freehand designs or adding details to existing tattoos. They come in various colors and thicknesses, allowing for a wide range of creative possibilities. Simply draw your design directly onto your skin using the markers. Keep in mind that these tattoos tend to fade more quickly than those created with temporary tattoo paper or stencils.
Tips for Designing the Perfect Temporary Tattoo
To ensure your temporary tattoo looks its best, consider these tips:
- Choose a High-Resolution Image: A high-resolution image will result in a sharper and more detailed tattoo.
- Reverse Your Design: Remember to reverse your design horizontally before printing, as it will be mirrored when applied to the skin. This is crucial for text or asymmetrical designs.
- Consider the Placement: Think about where you want to place your tattoo and choose a design that complements that area of your body. Avoid areas with a lot of hair or friction, as these can cause the tattoo to fade more quickly.
- Test Your Design: Before applying the tattoo to your skin, print a test version on regular paper to ensure the size and proportions are correct.
- Use Quality Materials: Invest in high-quality temporary tattoo paper and body paint to ensure your tattoo lasts longer and looks more vibrant.
- Protect Your Tattoo: Avoid rubbing or scratching your tattoo, and avoid exposing it to harsh chemicals or excessive water.
Where to Find Inspiration for Your Temporary Tattoo Design
Need some inspiration for your design your own temporary tattoo project? Here are a few places to look:
- Online Image Search: Websites like Pinterest, Google Images, and Instagram are great sources of visual inspiration. Search for keywords like “tattoo designs,” “temporary tattoos,” or specific themes that interest you.
- Tattoo Artists’ Portfolios: Browse the online portfolios of tattoo artists to see a wide range of designs and styles. This can give you ideas for your own custom tattoo.
- Nature: Draw inspiration from the natural world, such as flowers, animals, landscapes, and celestial objects.
- Geometric Patterns: Explore geometric patterns and abstract designs for a modern and eye-catching tattoo.
- Quotes and Words: Incorporate meaningful quotes or words into your tattoo design.
- Personal Symbols: Use personal symbols or emblems that represent your interests, values, or beliefs.
Troubleshooting Common Issues
Even with careful planning, you might encounter some issues when creating your own temporary tattoo. Here are some common problems and how to fix them:
- Tattoo Doesn’t Transfer Properly: Ensure the backing paper is thoroughly wet and that you’re applying firm pressure for the recommended time. Also, check that you’re using the correct side of the temporary tattoo paper.
- Tattoo Fades Quickly: Avoid rubbing or scratching the tattoo, and avoid exposing it to harsh chemicals or excessive water. You can also try applying a thin layer of baby powder to help prolong its lifespan.
- Design Smudges: Allow the ink to dry completely before applying the adhesive sheet. Also, avoid touching the design with your fingers while it’s still wet.
- Bubbles Under the Adhesive Sheet: Smooth out any bubbles carefully before applying the tattoo to your skin. Use a credit card or a similar object to gently press out the bubbles.
The Future of Temporary Tattoos
The temporary tattoo industry is constantly evolving, with new technologies and materials emerging all the time. We can expect to see even more realistic and long-lasting temporary tattoos in the future, as well as more sophisticated methods for design your own temporary tattoo. Innovations like printable electronics and advanced adhesive technologies are paving the way for temporary tattoos that can even incorporate interactive elements, such as changing colors or displaying information.
Conclusion: Express Yourself with a Custom Temporary Tattoo
Designing your own temporary tattoo is a fun, creative, and rewarding experience. Whether you’re testing out a design before committing to permanent ink, adding some flair to a special event, or simply expressing your individuality, the possibilities are endless. By following the tips and techniques outlined in this guide, you can create a temporary tattoo that’s uniquely yours and showcases your personal style. So, gather your materials, unleash your creativity, and design your own temporary tattoo today! [See also: Choosing the Right Tattoo Artist] [See also: Aftercare for New Tattoos] [See also: The History of Tattooing]
